If you are trying to validate demand, collect early adopters, or build momentum before a launch, a pre-launch waitlist landing page is one of the highest leverage assets you can create. It works because it gives people one clear action to take, it sets expectations for what is coming next, and it turns your “soon” into something measurable. This guide shows exactly how to create a pre-launch waitlist landing page that converts, step-by-step, with practical copy, layout, and optimization tips you can implement immediately.
Tools like VIP List, with the tagline “Build hype before you build,” are designed for this specific phase. Instead of spending weeks wiring forms, confirmations, and waitlist management by hand, you can focus on positioning, messaging, and distribution while the tool handles the mechanics of capturing signups and organizing your list.
Step 1: Define the conversion goal and the promise
A landing page converts when it makes a single decision feel obvious. Before you write any copy or design anything, define the one action you want visitors to take and the one promise you are making in exchange. For most pre-launch pages, the action is “Join the waitlist,” and the promise is early access, a limited spot, a perk, or updates that are genuinely valuable.
To make this concrete, write a one-sentence promise in this format: “Join the waitlist to get specific outcome without common pain, and be first to access unique benefit.” This sentence becomes the backbone of your headline, subheadline, and confirmation message, so keep it specific and believable.
Step 2: Identify your best-fit audience and their trigger moment
Conversion rate goes up when the page speaks to a narrowly defined person at a specific moment. “Founders” is too broad, and “designers” is too broad. Instead, pick a slice, such as “solo founders launching a micro-SaaS in 30 days” or “ecommerce operators preparing a new product drop.” The narrower you go, the easier it is to choose language that feels like it was written for them.
Next, define the trigger moment, which is the situation that makes someone search for a solution like yours right now. For example, they might be preparing a launch, losing time to a manual workflow, or struggling to get consistent leads. Your waitlist page should mirror that moment in the first few lines so visitors instantly feel understood.
Step 3: Choose the simplest high-converting page structure
You do not need a long page to convert, but you do need a complete story. A reliable structure for a pre-launch waitlist landing page is: (1) clear value proposition, (2) credibility signals, (3) what they get for joining, (4) how it works, (5) objections answered, and (6) a repeated call to action.
This structure works because it follows a natural decision path. First you tell them what it is, then you show it is real, then you clarify the benefit of joining early, then you remove friction, and finally you give them multiple opportunities to act without hunting for the form.
Step 4: Write the headline, subheadline, and CTA (copy you can reuse)
Your headline should say what it is and who it is for, without being clever. A strong starting formula is: “Get [desired result] for [audience] without [painful alternative].” The subheadline should add specificity, such as the mechanism, the timeframe, or the benefit of joining early.
For the call to action button, use an action phrase that matches the visitor’s intent, such as “Join the waitlist,” “Request early access,” or “Get notified at launch.” If you offer a perk, include it near the CTA in plain language, such as “Waitlist members get early access and launch pricing.”
- Headline example: “Join the waitlist for early access to a faster way to launch.”
- Subheadline example: “Be first to try it, get onboarding support, and lock in early member perks.”
- CTA example: “Join the waitlist”
Step 5: Decide what information to collect (reduce friction)
Every extra field reduces conversions, especially during pre-launch when trust is not fully established yet. For most waitlists, email alone is enough. If you need segmentation, consider one optional question after signup or a single multiple-choice field that helps you personalize follow-ups.
A simple rule is to collect only what you will use within the next two weeks. If you will not act on a field quickly, you are paying conversion rate for data you are not using.
- Best default: Email only
- Helpful add-on: Role (dropdown), use case (dropdown), or company size (dropdown)
- Avoid early: Phone number, long surveys, and multi-step forms unless your audience expects it
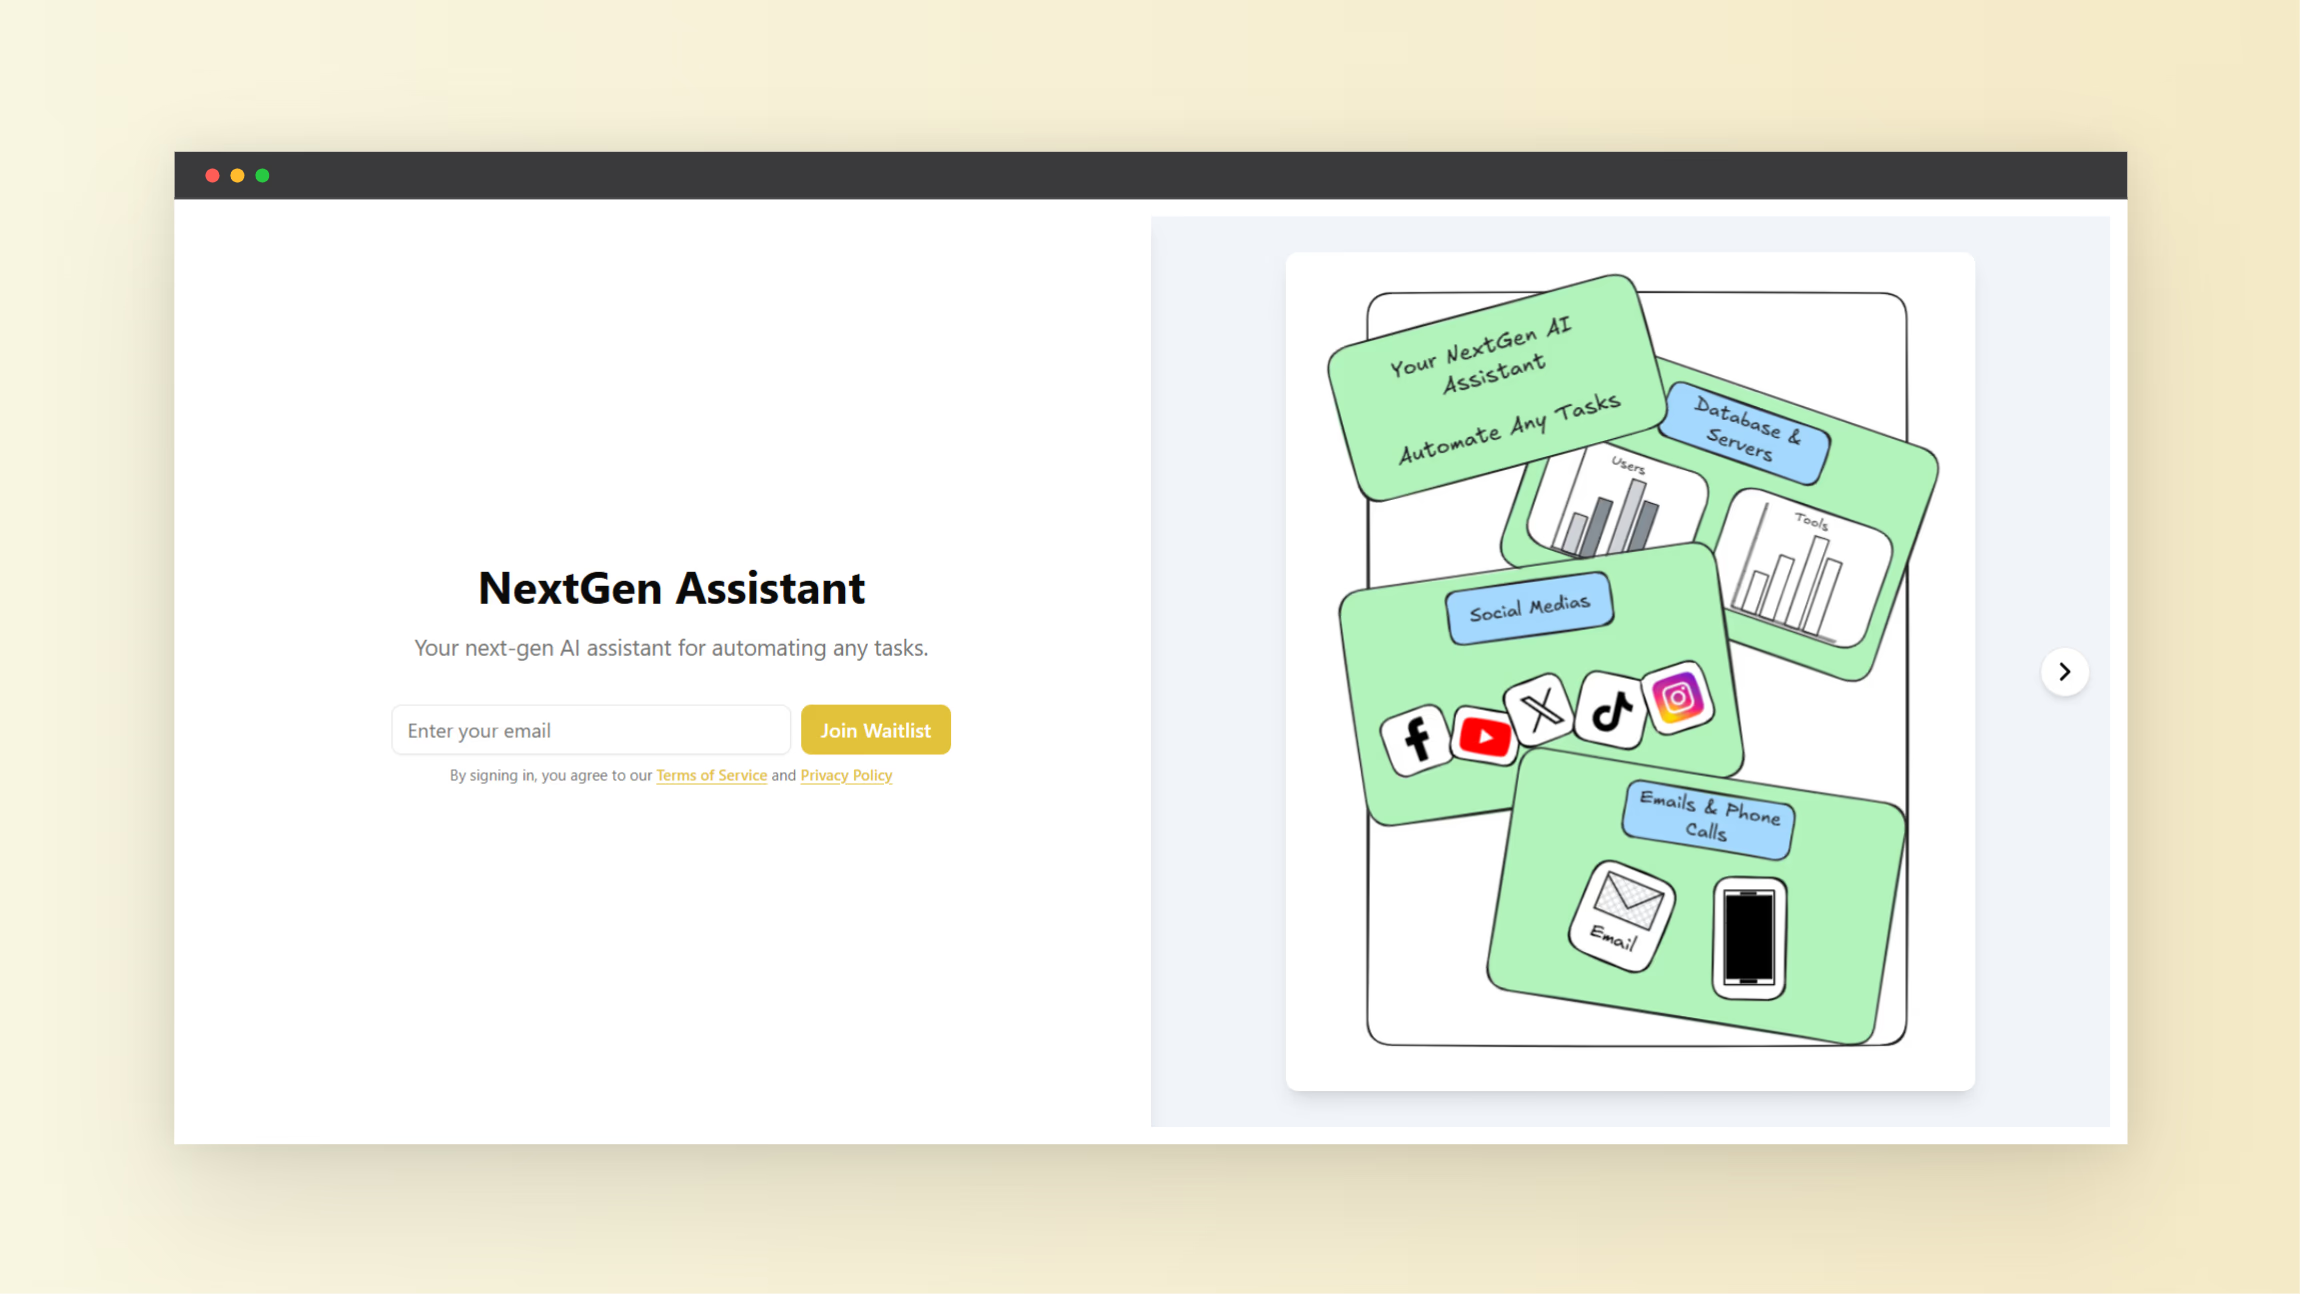
Step 6: Build the page in VIP List (practical setup flow)
VIP List is positioned as a purpose-built way to launch a waitlist and build hype before the product is fully built. In practice, the setup flow you want is straightforward: create your waitlist page, customize the messaging and branding, define what happens after signup, and prepare how you will manage or export the list for outreach.
- Create a new waitlist page: Start with a clean layout where the value proposition and form are above the fold, so visitors can act without scrolling.
- Add your core copy: Use the headline and subheadline you wrote, then add 2 to 4 benefit bullets that describe outcomes, not features.
- Configure the form fields: Keep it minimal, then add one optional segmentation field only if it changes what you will send next.
- Set the success state: After signup, show a clear confirmation message that sets expectations, such as “You are on the list. Watch your inbox for early access details.”
- Enable hype mechanics (optional): If the tool supports waitlist ranking, sharing, or other virality mechanics, enable only the ones you can explain in one sentence on the page.
- Test the full journey: Submit the form yourself, verify the confirmation, and ensure your follow-up process is ready.
The main goal here is not to add complexity. It is to ensure the page loads fast, the value is instantly understood, and the signup experience feels trustworthy from first click to confirmation.
Step 7: Add credibility without overbuilding
Pre-launch pages struggle most with trust. You can solve this with a few lightweight credibility signals that do not require a full marketing site. Add one or more of the following: a short founder line, a relevant past result, a clear explanation of why you are building this, or a small “as seen in” style section only if it is real and meaningful.
If you do not have logos or press, use specificity instead. Specificity builds credibility because it signals you understand the problem deeply. For example, naming the workflow you are improving or the exact outcome you are targeting tends to outperform vague claims.
- One-sentence founder credibility line (what you have built or learned)
- A short “Why now” paragraph (what changed that makes this possible)
- 3 concise outcome-focused bullets (time saved, errors reduced, speed gained)
Step 8: Offer an incentive that matches your audience (and keeps quality high)
Incentives can lift conversions, but they can also attract the wrong people. The best waitlist incentives are aligned with the product and valuable to your ideal users. Early access is often enough, especially if your product solves a painful problem. If you add perks, keep them simple and limited.
- High-quality incentives: Early access, onboarding call, priority support, limited beta spots
- Revenue-friendly incentives: Launch pricing, lifetime discount for early members, credit toward the first month
- Avoid if possible: Generic giveaways that do not relate to the product
Make the incentive feel real by adding a constraint, such as a limited number of beta spots or a time-bound early offer. Constraints work when they are honest and clearly stated.
Step 9: Add a referral loop carefully (only if you can explain it fast)
A referral loop can turn a waitlist into a growth engine, but only if it is intuitive. If visitors need to read a long explanation to understand how it works, it will not help conversions. If you use a tool feature that supports sharing, keep the instruction to one sentence after signup: “Share this with friends to move up the list,” or “Invite others to unlock perks.”
If you add tiered rewards, keep it to three tiers maximum. Too many tiers create confusion and reduce action because people feel they will not reach the goal.
- Tier 1: Invite 3 people to unlock a perk
- Tier 2: Invite 10 people to unlock a bigger perk
- Tier 3: Invite 25 people for premium access
Step 10: Create a simple traffic plan (where signups actually come from)
Even the best pre-launch waitlist landing page cannot convert if no qualified visitors see it. Your job is to place the page in front of people who already feel the problem. Start with channels where trust is easiest: your personal network, niche communities, targeted partnerships, and content that ranks for high-intent queries.
Use a simple weekly plan: one distribution push, one credibility asset, and one follow-up loop. For example, you can post a short problem story, share a quick demo or mockup, and then message the people who engaged with a direct invite to join the waitlist.
- Fast: Founder social posts, direct outreach, newsletters
- Targeted: Community posts, partner shoutouts, webinars
- Compounding: SEO articles, use-case guides, comparison content
Step 11: Optimize for conversion (what to test first)
Optimization is not about changing colors randomly. It is about removing the biggest reason someone hesitates. Start by reviewing recordings or feedback, then prioritize tests that affect understanding and trust, not decoration. In most cases, the biggest lift comes from rewriting the top section.
- Test 1: Headline clarity (more specific audience and outcome)
- Test 2: Incentive framing (early access vs launch pricing)
- Test 3: Form friction (email-only vs email plus one field)
- Test 4: Credibility block (founder line, proof, or “why we are building this”)
- Test 5: CTA copy (join waitlist vs request early access)
Keep tests clean by changing one thing at a time. If you change the headline, offer, and layout at once, you will not know what caused the result.
Step 12: Measure success with the right metrics (not vanity numbers)
A growing waitlist feels good, but the only number that matters is how many of those people become active users or paying customers later. Track conversion rate from visitor to signup, then track activation rate from signup to the next meaningful step, such as replying to an email, booking a call, or completing onboarding.
- Landing page conversion rate: Signups divided by visitors
- Cost per signup: If you run ads or paid promos
- Activation rate: Signups who take your next-step action
- Quality signal: Reply rate to your first email or survey
If you see a high signup rate but low activation, your promise may be too broad or your incentive may be attracting the wrong audience. Tighten the audience and sharpen the value proposition.
Step 13: Set up your follow-up sequence (turn signups into momentum)
Your waitlist landing page is the start of the relationship, not the end. The fastest way to lose trust is to collect emails and then go silent for weeks. Plan a simple sequence that delivers value and keeps anticipation high, even if the product is not ready.
- Email 1 (immediate): Confirmation, what happens next, and a single question to learn their use case
- Email 2 (2 to 4 days later): A short story about the problem, and what you are building to solve it
- Email 3 (1 week later): A behind-the-scenes update, plus a request for quick feedback
- Email 4 (when ready): Early access invite with clear next steps
Keep every email consistent with the landing page promise. If your page is about saving time, your emails should be short, direct, and useful.
Common mistakes that reduce waitlist landing page conversions
Most conversion problems come from confusion or mistrust, not design. If your page is underperforming, check these issues first. Fixing one of them often produces a bigger lift than redesigning the entire page.
- Vague headline: Visitors cannot tell who it is for or why it matters
- No clear incentive: There is no reason to join now instead of later
- Too many fields: You are asking for more commitment than you have earned
- No expectations: People do not know what happens after they join
- Weak credibility: There is no signal that this will actually ship
Quick checklist: how to create a pre-launch waitlist landing page that converts
Use this checklist to review your page in five minutes. If you can confidently say “yes” to most of these, you are in a strong place to start driving traffic and iterating.
- The top section explains the outcome and audience in one breath
- The form is above the fold and asks for the minimum information
- The CTA matches intent (join, request early access, get notified)
- There is a credible reason to believe this is real
- The visitor understands what happens after signup
- There is a clear incentive that attracts your ideal users
- You have a follow-up plan to maintain momentum
Putting it all together with VIP List
If your goal is to build hype before you build, the winning approach is to keep your waitlist landing page simple, specific, and trust-building, then iterate based on real data. VIP List fits this workflow because it is focused on the pre-launch phase, where speed and clarity matter more than a complex website.
Start by publishing a clean page with one strong promise, then drive targeted traffic for a week. After that, adjust the headline and offer based on the questions people ask and the reasons they hesitate. That combination of a focused tool and disciplined iteration is what turns a basic waitlist into a real launch asset.